How to Fix a Broken Recliner Arm? – Fixing a Recliner Arm
Recliners Guide is reader-supported. As an Amazon Associate, I earn from qualifying purchases. Learn more about our process here.
In this article you’ll get to know how to fix a broken recliner arm without consulting any professional recliner dealers. The broken arms of recliners are pretty common these days and it is something that you must learn to do yourself instead of relying on others. The recliner arm doesn’t break up or starts shaking all of a sudden. It gets worse each passing day particularly when you don’t fix it in the initial stages. Nonetheless, if your recliner arm begins to loosen while moving sideways it probably needs to be fixed immediately. Let’s see how we can fix a broken recliner arm.
READ: [ 8 Cheap Recliners under $100 ]
✏How to Fix a Broken Recliner Arm?
Things You’ll Need
✔ A pair of needle-nose pliers
✔ Screw driver
✔ Screw tightener
✔ A cutter
Step-by-Step Instructions
Step no. 1 – Removing the Upholstery
✅ There are two joints in each of the recliner arm; one is at its front while the other lies at the back.
✅ You can easily see the attaching points at the front arm for they are underneath the axis. They aren’t really covered. However the back joints are obstructed by the upholstery that probably needs to be removed first before you begin repairing.
✅ It’s a bit of a manual work and it’ll probably take 20 to 25 minutes to remove the upholstery. Be careful, you wouldn’t want to rip the recliner cloth for you’ll need it back again.
✅ You’ll take off all the screws using a pair of pliers and possibly a hammer.
✅ You should also turn the recliner upside down so you can remove the entire upholstery.
Step no. 2 – Removing the Mechanism and Floor Base
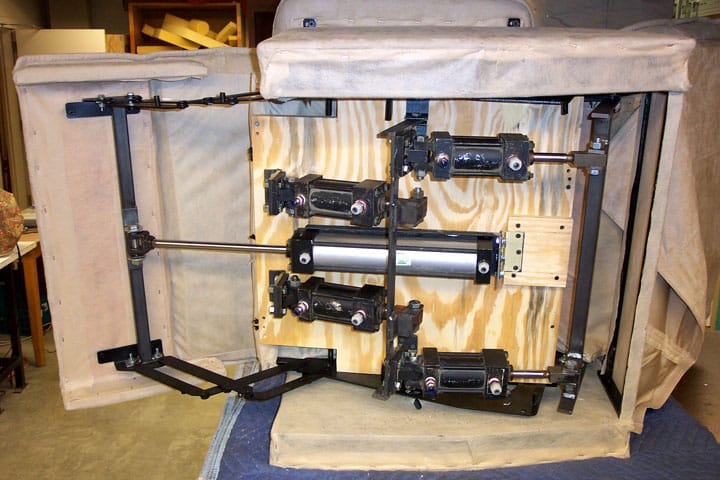
✅ The next step is to get rid of the recliner mechanism or floor base so you get access to all joints that need to be fixed. Don’t forget, your recliner is upside down right now.
✅ In most recliners there are around four bolts underneath the mechanism. Remove all four bolts in the mechanism and also take off bolts from the handle too in order to disconnect handle from the mechanism.
✅ You remove the mechanism because you’ll need to expose all the possible joints underneath the arm frame.
✅ Once you’ve removed all the bolts, take out the entire mechanism and place it somewhere safe.
Step no. 3 – Loosen the Bolts
✅ Turn over the recliner so that it stands on its back and its bottom faces right towards you.
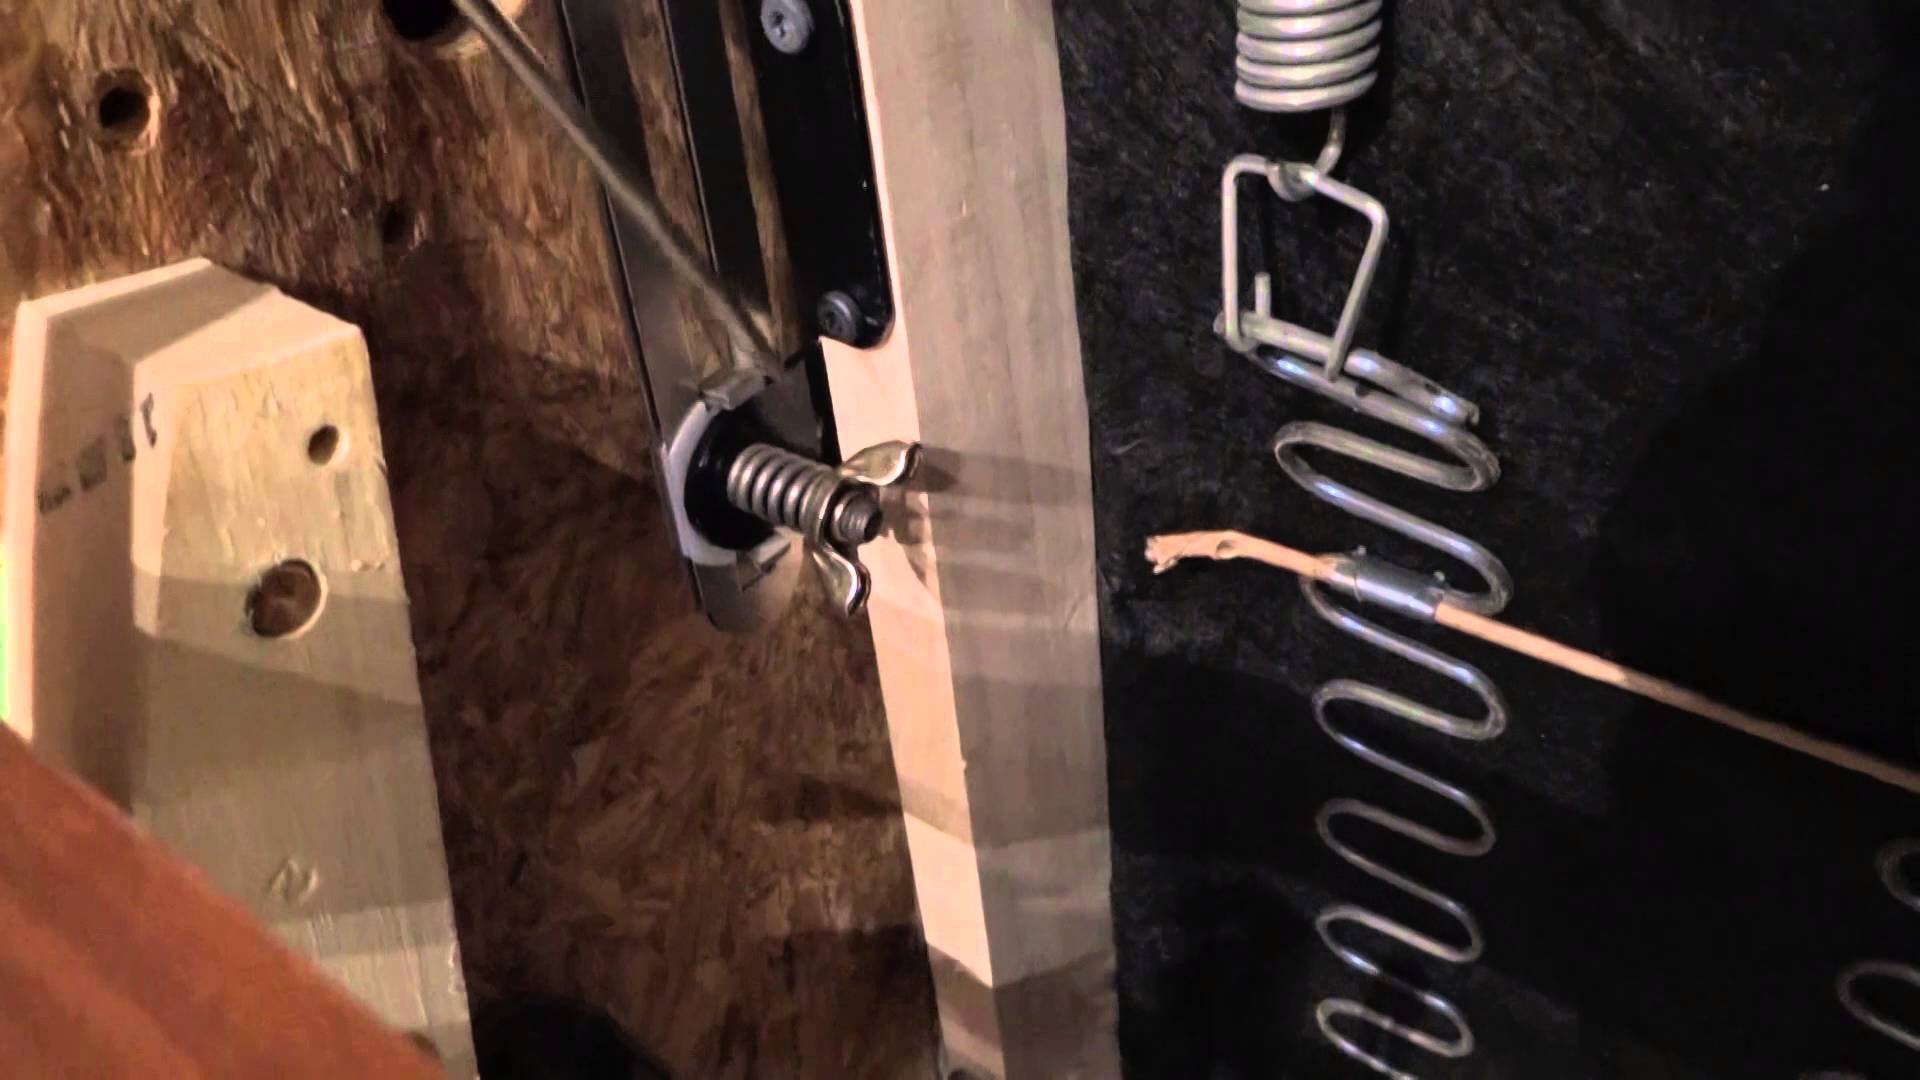
✅ There is a bolt that connects the seat frame with the front of the recliner arm. Sometimes there are a couple of spacing blocks as well. You’ve got to loosen the bolt so you can fix the arm and tighten it later.
Step no. 4 – Remove Staples
✅ Now remove the staples using pliers as well as cutters.
✅ You are going to have to remove the glue residue too.
Step no. 5 – Gluing the Gap
✅ You’ll probably notice that there’s a small gap between the side frame and a back frame. There are staples too but you don’t have to remove these staples.
✅ All you need to do is to tighten the joints with glue and fasten it with screws. The gluing is important for it can tighten the joints but it will take hours to dry. You’ll leave the recliner chair glued for as long as 8 – 10 hours with the clamps intact.
✅ After 10-hour time remove the clamps and reverse the above procedure and reassemble the chair. Your recliner arm is good to go.
FINAL THOUGHTS✋
Finally you know now how to fix a broken recliner arm at home. There is one thing you should remember that is the wooden frame used by modern recliner dealers isn’t only less durable—it’s made up of several wooden layers instead of a solid single wood. When you use the automatic screw tightener you should be careful that the wood doesn’t split. The best way to avoid this situation is not to drill straight. Drill the screws in 90 degree angle.


