How to Fix a Broken Recliner Arm in 6 Practical Steps
Recliners Guide is reader-supported. As an Amazon Associate, I earn from qualifying purchases. Learn more about our process here.
If the arm on your recliner is feeling wobbly, cracked, or flat-out broken, don’t panic. You don’t have to call in a pro or toss the whole chair. With a few tools, a little patience, and this step-by-step guide, you can bring that recliner arm back to life.
Step 1: Inspect the Damage and Identify the Problem
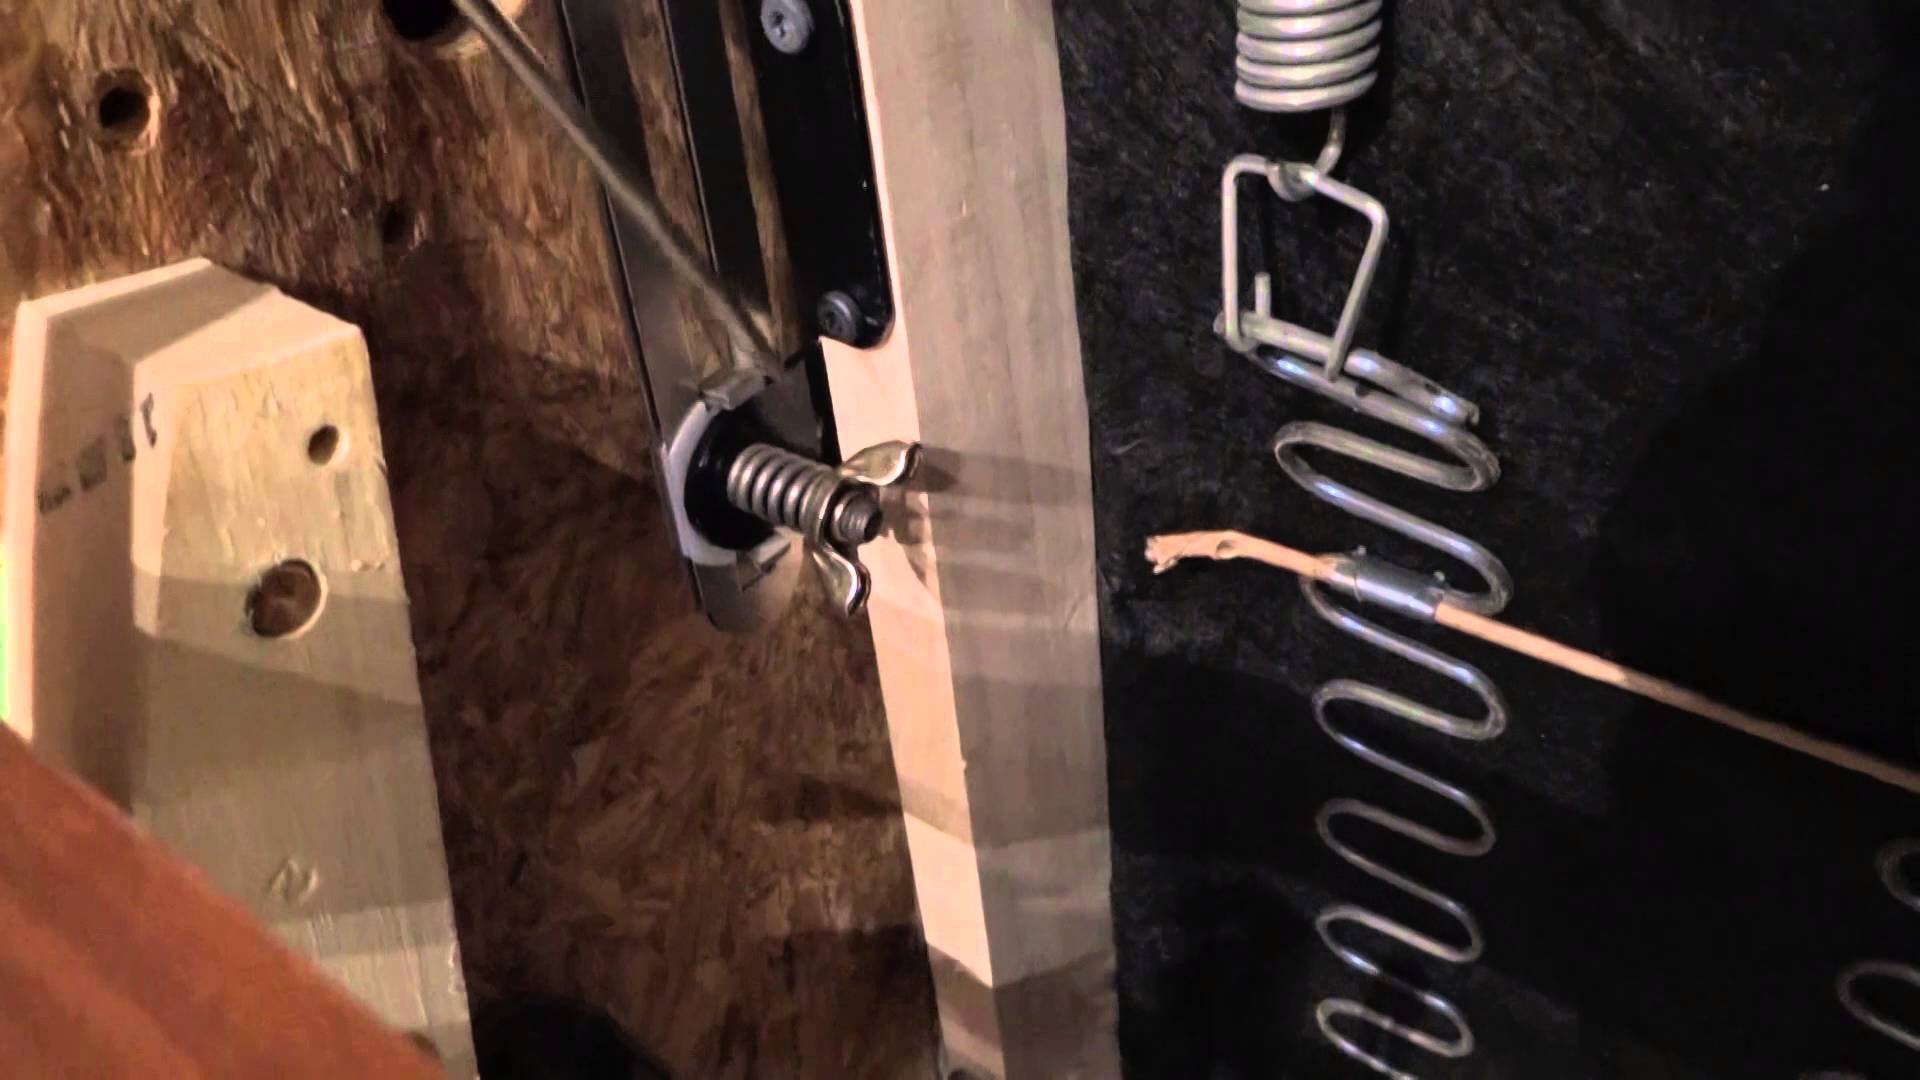
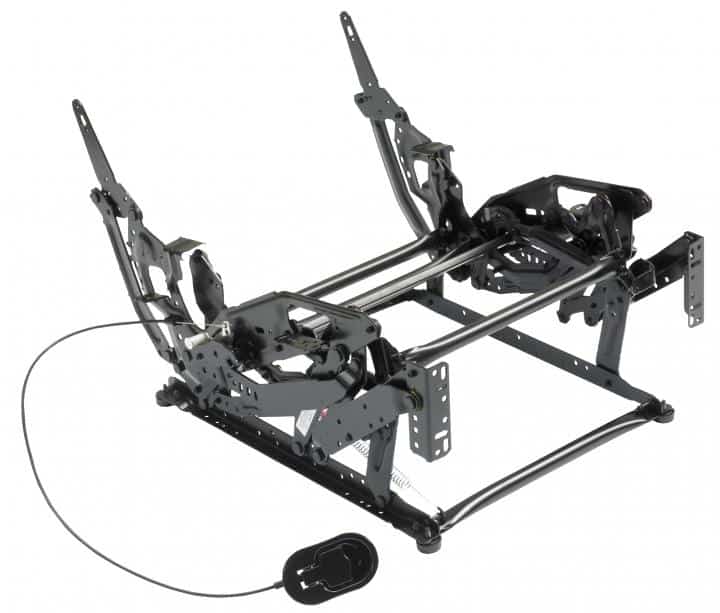
First things first—figure out exactly what’s wrong. Is the arm loose? Is the wood cracked? Are the screws stripped or missing? You’ll need to gently feel around the armrest and check underneath the chair to see what’s going on. Sometimes, it’s just a screw that’s backed out. Other times, it might be a broken frame inside. Get a flashlight if needed and make sure you understand what needs fixing before you dive in.
Step 2: Remove the Fabric (If Necessary)
If the damage is internal—like a broken wooden frame or loose support—you may need to remove the fabric or upholstery covering the arm. Use a flathead screwdriver or staple remover to carefully take off the staples holding the fabric in place. Work slowly to avoid tearing anything. Once the fabric is peeled back, you’ll get a better view of the internal structure.
Step 3: Tighten or Replace Screws and Bolts
For a wobbly arm, tightening the screws or bolts might do the trick. Use a screwdriver or Allen wrench to tighten any loose hardware. If the screws are stripped, replace them with slightly longer or thicker ones so they grab the wood better. Wood glue and a toothpick can also help fill out a stripped hole in a pinch.
Step 4: Repair or Reinforce Broken Wood
If the wooden frame inside the arm is cracked or broken, use wood glue and clamps to bond it back together. For more serious breaks, you may need to cut a small replacement piece of wood and screw or glue it in place. Add corner braces or metal brackets if you want extra reinforcement—especially helpful for older recliners that have seen years of use.
Step 5: Reattach the Fabric
Once everything is tightened, glued, and back in place, carefully reattach the upholstery. Use a staple gun to secure the fabric where you removed it, pulling it tight as you go. Make sure everything is smooth and lined up the way it was originally. If any staples poke through or seem loose, go over them again with your staple gun.
Step 6: Test the Arm and Final Touches
Now that the repair is done, give the arm a good test. Lean on it gently, wiggle it around a bit, and make sure everything feels solid. If it holds up and doesn’t budge, congrats—you’ve fixed your recliner arm! You can clean the fabric, add an armrest cover, or even reinforce both arms as a preventative step for the future.
And there you have it—six practical steps to fixing a broken recliner arm without the stress. It’s a doable weekend project that can save your favorite chair and your wallet.